Balance-Biz
Home
Products & Price
Balance-Biz Cloud
Balance-Biz Software
Quiz
QUIZ FOR BUSSINESS HEALTH CHECKUP
Business Guidance
Business Blogs
Business Accounting Guidance
About Us
Contact Us
Business Hub
Toggle navigation
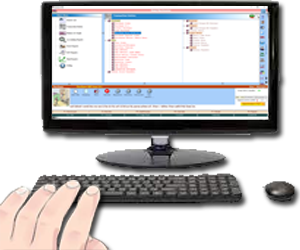
Balance-Biz Software
Introduction
Price
Make Concepts Clear
Simple Business Terms
Simple Accounting Terms
Stock Effects (Basics)
How to start ?
Ideal steps of work
How to operate
Create Master List
Create New Items
Create New Accounts
Other Master List
Copy Masters from Excel
Transaction Entries
Transaction Entries Intro
Sample of Sales Entry & Purchase Entry
Sample of Receipt & Payment Entries
Sales-Return & Purchases-Return
Debit-Note & Credit-Note
Contra-Entry
Petty-Cash-Book
Godown-Stock-Transfer
Reports
Reports Intro
Price-list
GSTR Upload
GST Invoices Format
E-way-Bill
Final Reports
Advanced
Data upload to Cloud
Remotely Controlling Businesses
SMS facility
Attendance
Business Calculator
Orders System
Business-wise Setting
Bill Print Setting
Bill Columns Setting
Other Settings
User and Authorities (Security Control)
Data Backup
Business-wise Case Studies
Agro-Industry
Batteries-and-Solar-System
Mobile-indusrty
Tractor-Industry
Exam
Download & Install